Emergency contacts are important in case we need to reach out to a family member or friend on your behalf. Here's instructions on how to edit or setup your emergency contact(s).
- Log into WebAdvisor. (See our full instructions on how to log in to WebAdvisor.)
- Click to select either the students or employees box depending on your group as shown in step 6 of the WebAdvisor login instructions.
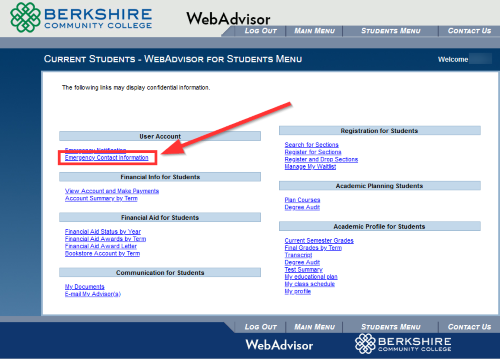
- Within the User Account area in the upper left corner, click on Emergency Contact Information.
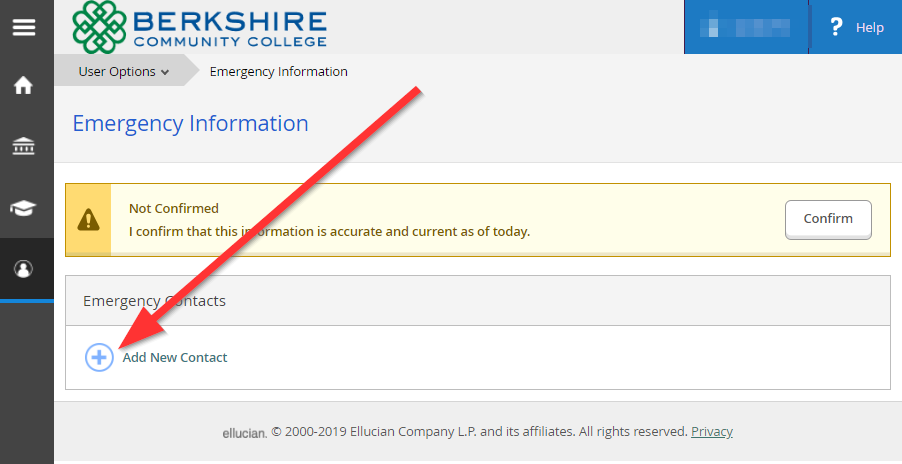
- Click on the button labeled + Add New Contact.
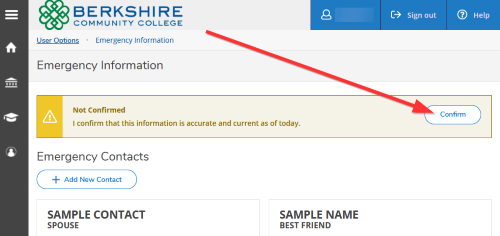
- If you are editing a contact then click on the Pencil icon below the contact. To remove a contact, click on the Trash Can icon.

- If you are editing a contact then click on the Pencil icon below the contact. To remove a contact, click on the Trash Can icon.
- A new window will open, completely fill out all the fields, note that there may be a scroll down bar. When completely filled out click on the Add Contact button in the lower right.
- Review the information and click the Confirm button at the top of the screen once everything is verified to be correct.